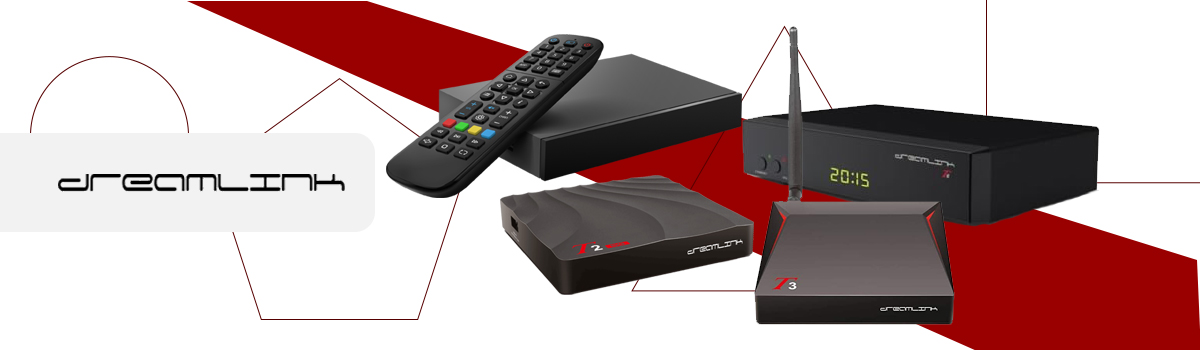
Dreamlink IPTV Setup Guide (T1, T1+, T2 & T6)
Dreamlink T1, T1+, T2, and T6 are popular IPTV streaming devices designed for watching live TV, movies, and internet-based entertainment services. These devices support IPTV portal configuration, allowing users to stream content through compatible IPTV applications and server connections. If you are looking for an easy Dreamlink IPTV setup guide, this tutorial will help you configure IPTV step by step on your Dreamlink device. Additionally, if you are new to IPTV streaming, you can first try a Free IPTV Trial to test compatibility and streaming performance before choosing a subscription plan.
Why Use Dreamlink Devices for IPTV?
Dreamlink devices are widely used because they offer a simple interface, stable streaming performance, and easy IPTV configuration.
Key Benefits
- Simple IPTV portal setup
- Smooth HD streaming experience
- User-friendly navigation
- Fast IPTV channel loading
- Compatible with various IPTV services
- Stable internet streaming support
How to Setup IPTV on Dreamlink Devices
Follow the steps below to configure IPTV on Dreamlink T1, T1+, T2, and T6 devices.
Step 1: Find the MAC Address
First, turn on your Dreamlink device and wait for the system to load completely. Then follow these steps:
- Allow software updates to finish if prompted
- Open the Server Menu
- Press the Exit button on the remote
- Select OK to continue
- Open the main DOL screen
You should now see the MAC address of your Dreamlink device. The MAC address may be required for IPTV activation depending on your setup method.
Step 2: Open Portal Settings
Next, navigate to the Settings section from the Dreamlink Online screen. After that:
- Press the Green button on your remote
- Select Edit
- Open the Portal Settings section
This area allows you to configure your IPTV portal connection.
Step 3: Enter IPTV Portal Details
Now enter the following details:
Portal Name: You can enter any custom name.
Portal URL: Paste the Portal URL provided with your IPTV subscription.
After entering the information: Press OK then Save the configuration settings
⚠️ Always use the Portal URL provided with your IPTV service.
Step 4: Connect and Start Streaming
Once the portal details are saved:
- Restart the application if necessary
- Wait a few moments for channels to load
After the connection is established, you can begin streaming live TV and available content directly on your Dreamlink device.
Streaming Tips for Better Performance
For smoother IPTV streaming performance:
- Use a stable internet connection
- Restart the device occasionally
- Keep your device software updated
- Prefer Ethernet for stable connectivity
- Avoid background downloads while streaming
Additionally, if you experience setup issues or playback problems, you can read the IPTV FAQ guide for troubleshooting help.
Compatible Dreamlink Devices
This IPTV setup guide works for:
- Dreamlink T1
- Dreamlink T1+
- Dreamlink T2
- Dreamlink T6
Moreover, the setup process is very similar across these Dreamlink models.
Explore IPTV Plans
If you want long-term streaming access after testing, you can also explore:
- 1 Month IPTV Plan
- 3 Month IPTV Plan
- 6 Month IPTV Plan
- 12 Month IPTV Plan
You can compare all available subscriptions on the IPTV pricing page.
⚠️ Disclaimer
We provide IPTV setup guidance and streaming technology support only. We do not host, store, or distribute any media content. Users are responsible for complying with local laws and regulations in their country.
Learn More
To understand IPTV technology, see Internet Protocol television.